Back to the blogVideo analysis
Video Analysis in Football: The Practical Workflow from Match Video to Player Feedback
How 90 minutes of match video become clear player feedback: the practical video analysis workflow for coaches, from recording to training.
Contents11 sections
- Video analysis begins before kick-off
- Record the match correctly for video analysis
- Keep match videos in one place
- Tag key moments instead of searching through 90 minutes
- Recognize patterns instead of collecting single mistakes
- Make scenes clear with drawings and playlists
- Keep player feedback short and concrete
- Turn insights into training
- Free football video analysis handbook
- Video analysis workflow checklist
- From the match video to the next training decision
- Video analysis begins before kick-off
- Record the match correctly for video analysis
- Keep match videos in one place
- Tag key moments instead of searching through 90 minutes
- Recognize patterns instead of collecting single mistakes
- Make scenes clear with drawings and playlists
- Keep player feedback short and concrete
- Turn insights into training
- Free football video analysis handbook
- Video analysis workflow checklist
- From the match video to the next training decision
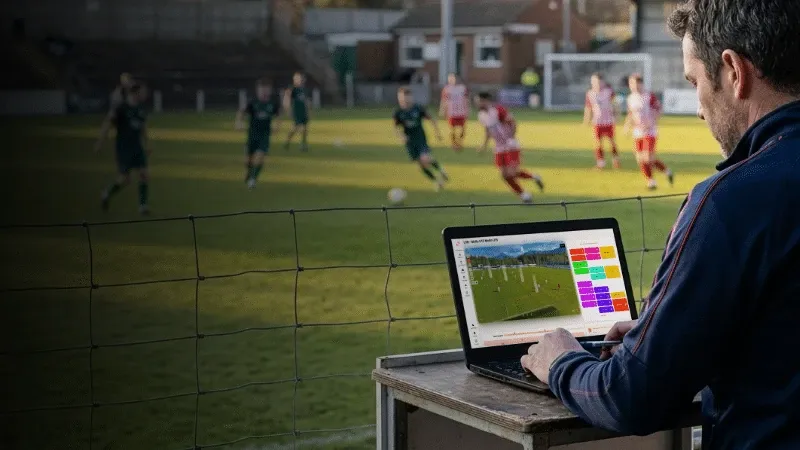
Filming a football match doesn’t give you an analysis yet. Coaches and players only get real value when 90 minutes of footage turn into clear observations, feedback they understand and concrete training content.
Without a fixed process, the review after a match quickly takes several hours. You have to find scenes, cut them, sort them and send them to the right people. A good video analysis workflow cuts this effort. It helps the coaching staff focus on a few relevant patterns and prepare them so the team can work with them.
This guide shows the complete process: from recording the match to tagging and playlists, all the way to player feedback. It works with an automatic football camera as well as with your own footage from a smartphone, a GoPro or any other camera system.
For an overview of methods and technologies, see our basics of video analysis.
Video analysis begins before kick-off
Efficient match analysis doesn’t start with the first click in the software, but with a clear question. If you try to examine pressing, build-up play, transitions, set pieces and every individual action after the match, you usually collect too many clips and lose the actual focus.
So set two or three analysis questions before the match. They come from the training focus, the last match or the next opponent.
- How well do we play through the opponent’s first pressing line?
- What happens in the first few seconds after we lose the ball?
- Do our wingers occupy the right spaces?
- How well does our defense control the space behind the last line?
These questions later decide which scenes you tag and which actions you deliberately leave aside. If your club doesn’t have a fixed routine yet, the guide How to start football video analysis in your club helps too.
Record the match correctly for video analysis
For tactical video analysis, seeing the player on the ball isn’t enough. The recording should show as many players as possible, the distances between the lines of the team and the movement off the ball. An elevated, stable camera position therefore helps far more than a tight shot from the touchline.
There are two ways to bring match footage into the zone14 workflow.
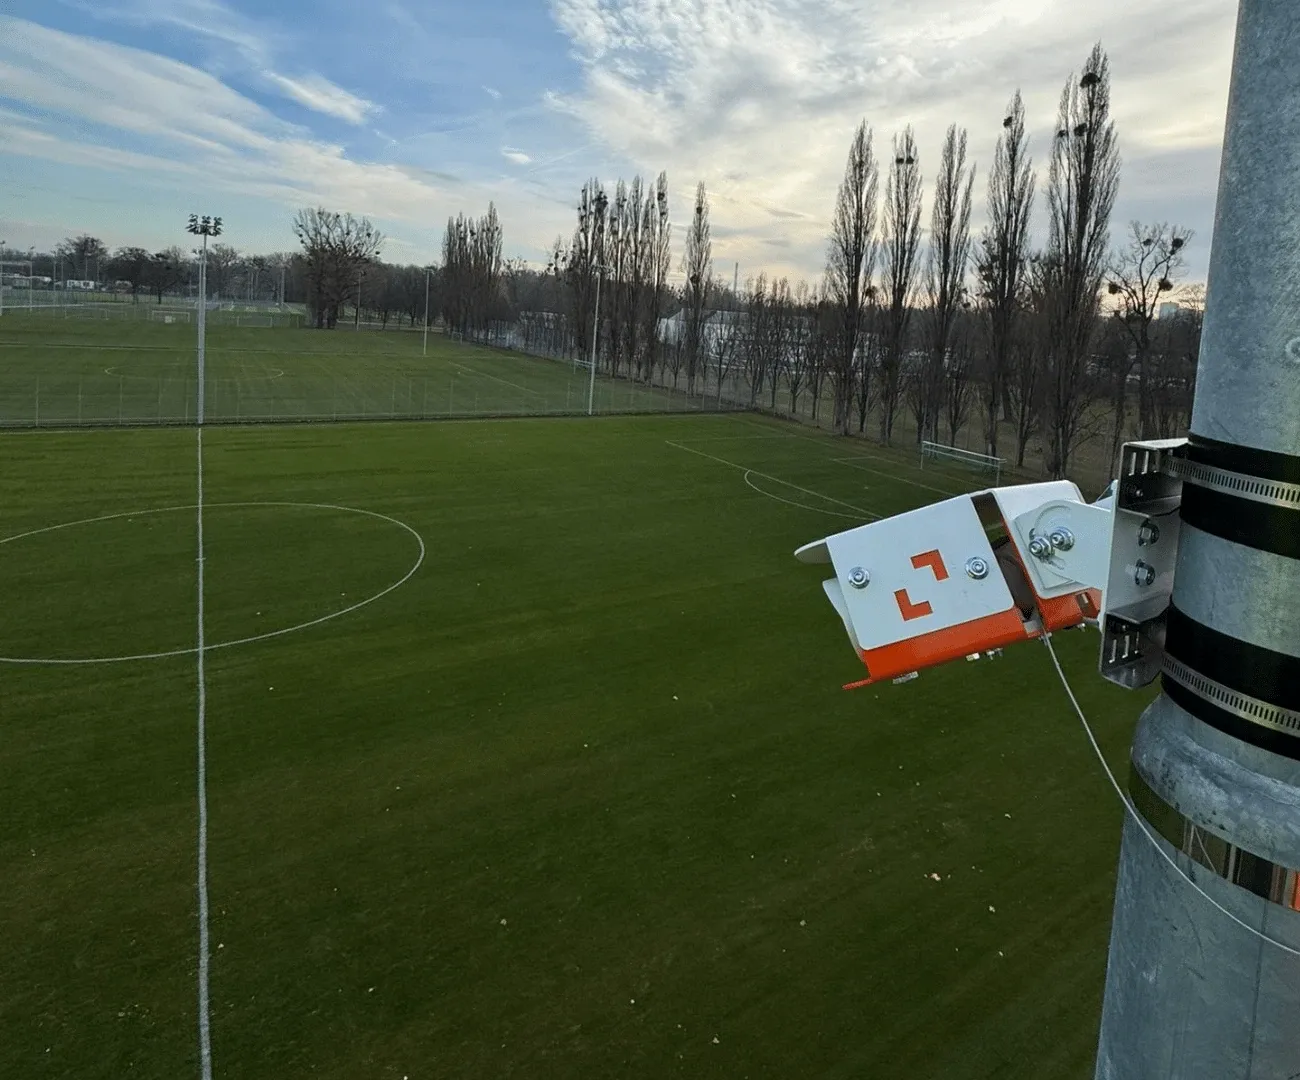
Automatic match recording with zone14 TWO
The zone14 TWO football camera is installed at the pitch for good. You schedule matches, the camera records them automatically and the footage goes straight into REPLAY. This saves time above all for clubs that film several teams regularly and don’t want to set up or operate a camera for every match.
The wide view makes it easier to judge distances within the team, pressing height, runs and open spaces. If you want to compare different fixed and portable systems, the post on the best cameras for football video analysis gives an overview.
Your own footage with zone14 COACH
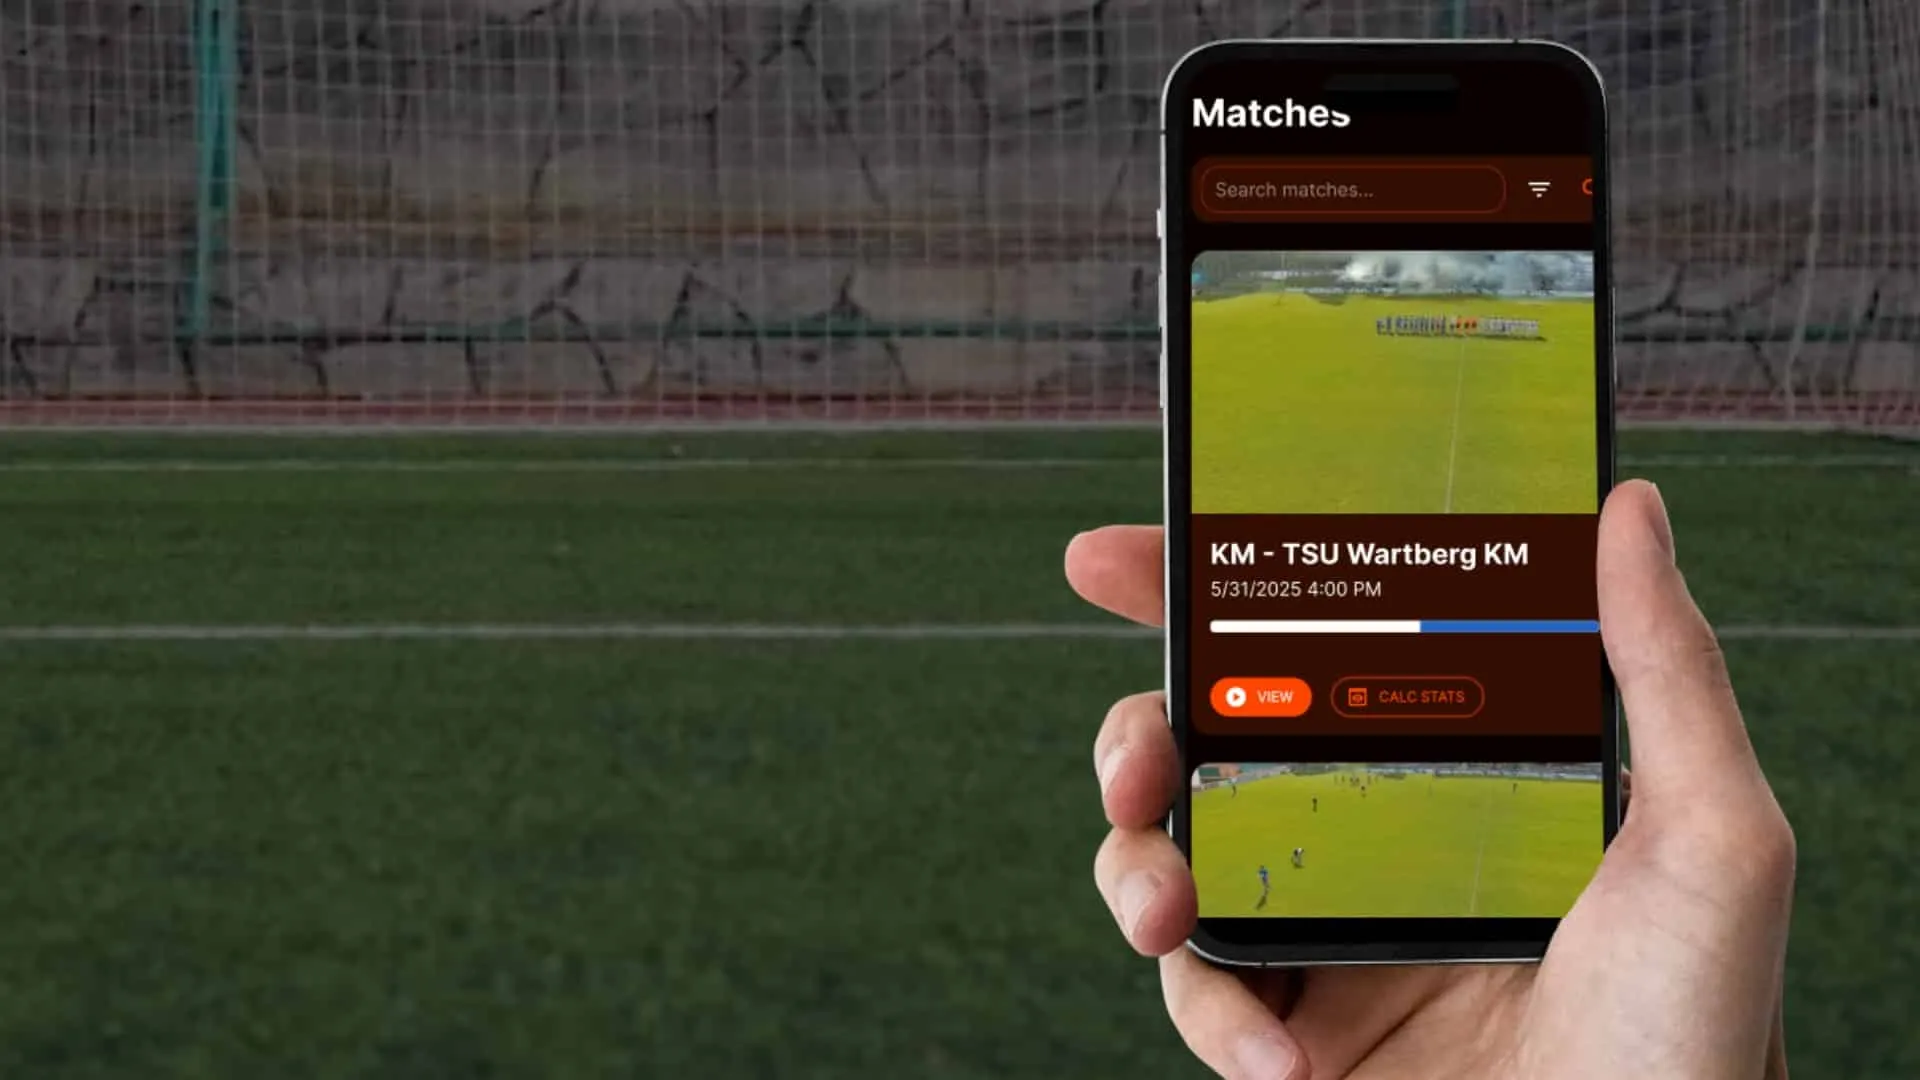
You can analyze existing recordings as well. With zone14 COACH, clubs upload videos from a smartphone, GoPro, Veo, XbotGo or any other camera system and then work on them with tagging, drawings and playlists.
When you film yourself, keep the camera as steady as possible and capture a large part of the pitch. Zooming in too much or chasing the ball makes the tactical review harder later. The post How to record football matches with your phone has practical tips.
Keep match videos in one place
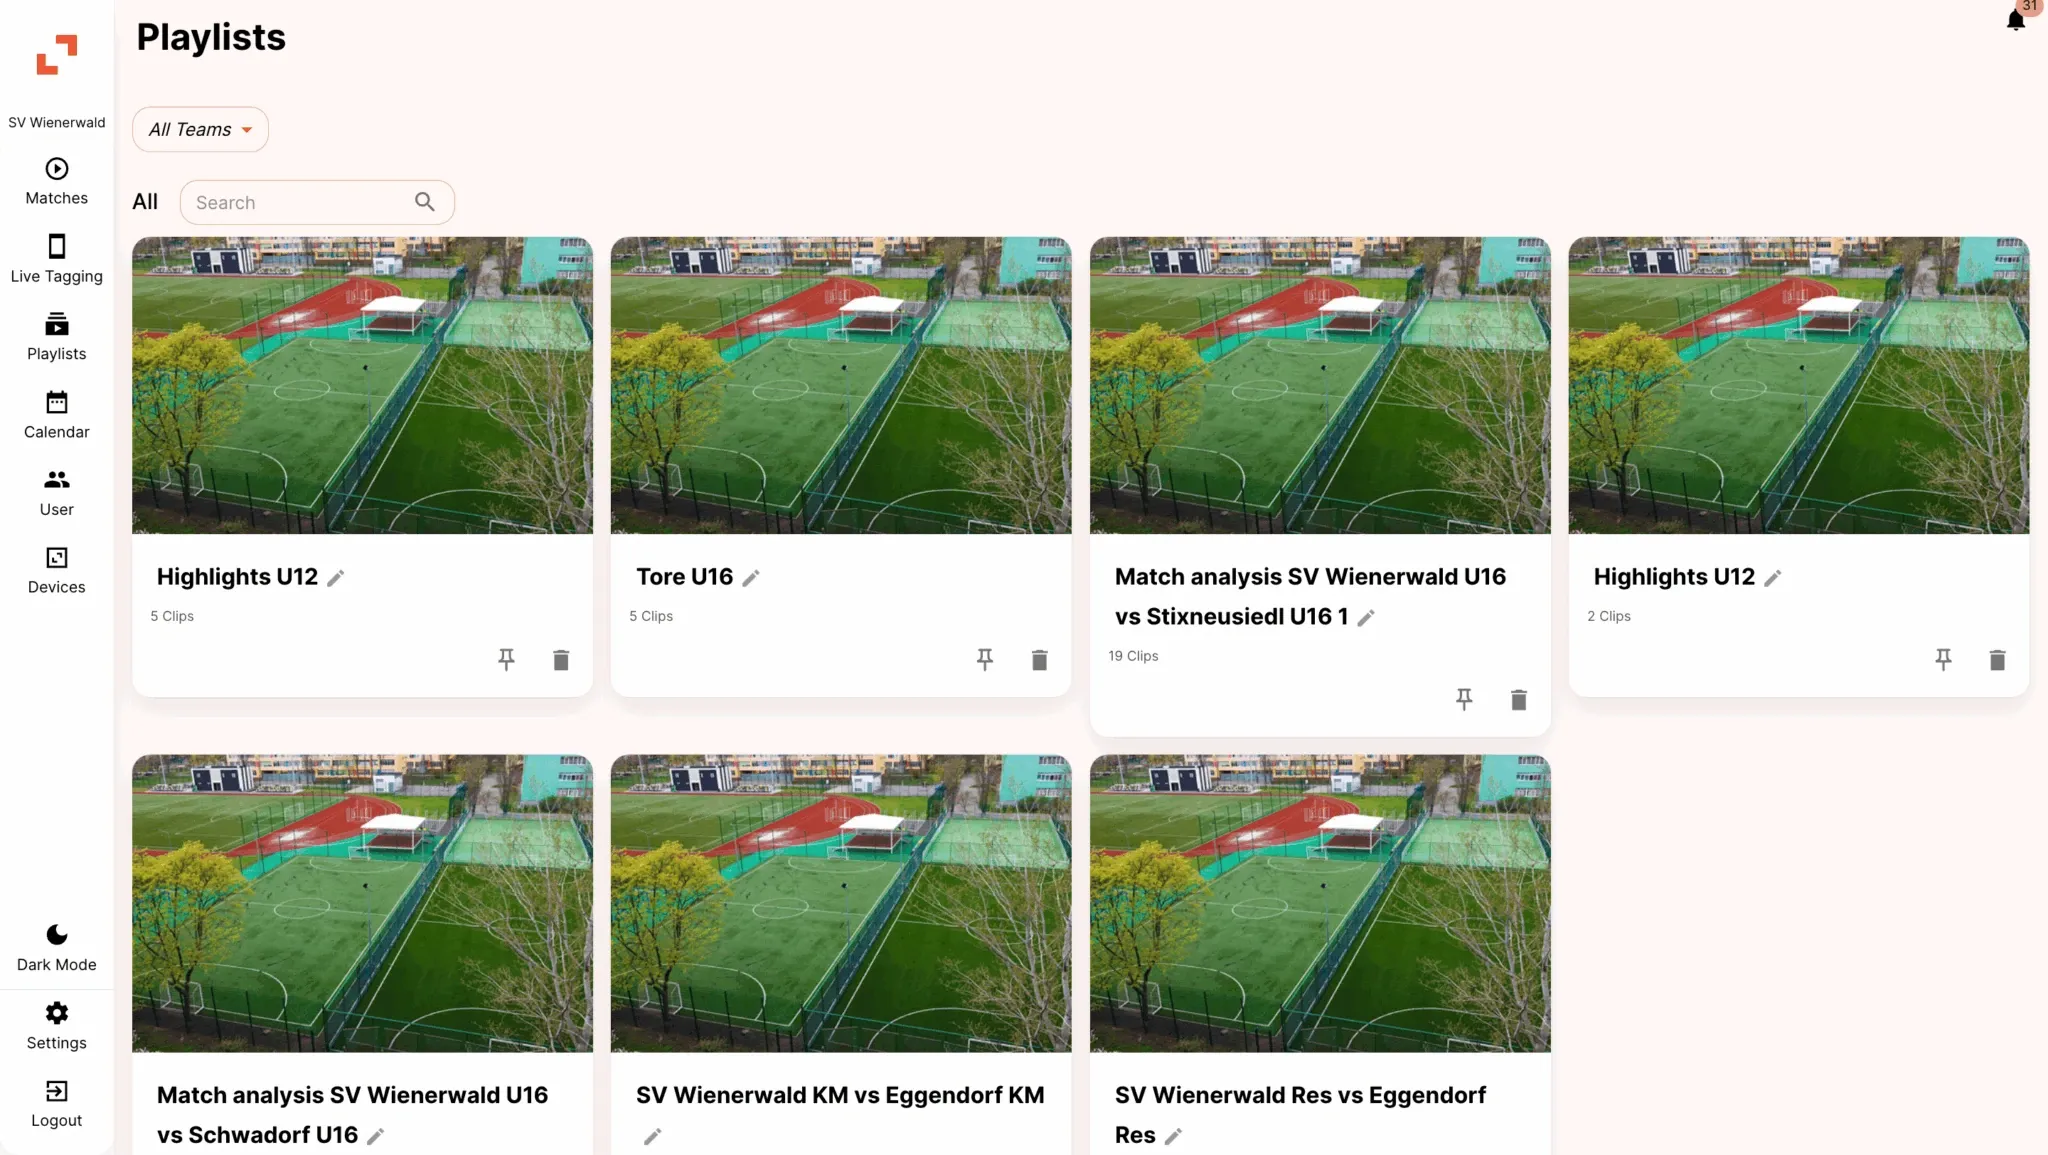
When videos are spread across memory cards, personal laptops, messaging apps and several cloud folders, every analysis gets more complicated than it needs to be. A central match area lets coaches find footage faster, work on it together and compare several matches.
In zone14 REPLAY, you store matches, tag scenes and organize your analyses in playlists. Recordings from zone14 TWO are there automatically. Your own footage enters the same analysis process through COACH.
Before the detailed work, take a quick look at the events that match the questions you set:
- goals and clear chances
- lost balls and counterattacks
- entries into the final third
- set pieces
- striking changes in the opponent’s formation
You don’t need to comment on every action. What matters are the few patterns that affect the next performance.
Tag key moments instead of searching through 90 minutes
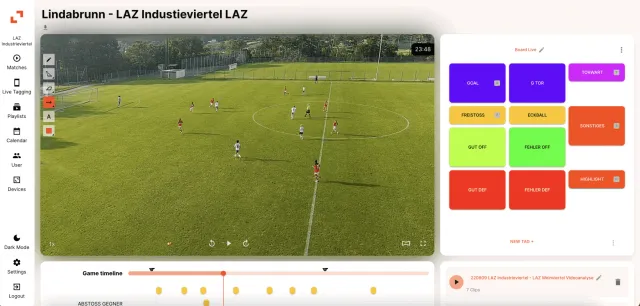
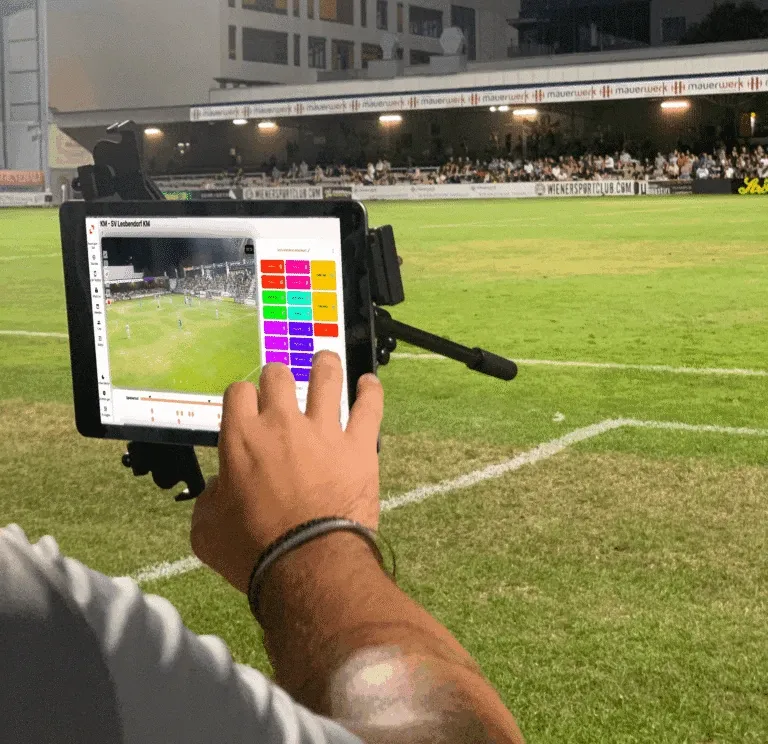
Tagging connects the full match recording with the actual analysis. A tag marks a situation and assigns it to a category. Later you open, for example, all scenes of build-up play, counter-pressing or a specific player directly.
A simple tagging board gets by with a few categories:
- In possession: build-up play, line broken, final pass, entry into the box, goal-scoring chance, loss of possession
- Out of possession: pressing trigger, ball won, compact shape, space behind the defense
- Transition: counterattack, counter-pressing, rest defense, recovery runs
- Individual: positioning, scanning, decision, technical execution
Every tag should answer a question you actually evaluate later. In practice, a small board you use consistently helps more than 30 categories you only use now and then. The post on the tagging board for football analysis explains more about the structure.
You can set tags after the match. It’s even faster if you tag important situations live. Then the coaching staff goes straight to the relevant scenes after the final whistle. A separate post covers the benefits of live video analysis in football in more detail.
Recognize patterns instead of collecting single mistakes
A single misplaced pass rarely explains a tactical problem. Only comparing several similar scenes shows whether it was a one-off decision or a recurring pattern.
Say a team allows three dangerous counterattacks after losing the ball on the left. The analysis shouldn’t end with “The pass was bad.” Concrete questions get you further:
- Where were the nearest teammates before the ball was lost?
- Was the center covered well enough?
- Who put pressure on the opponent on the ball?
- How big was the gap between midfield and defense?
- Did the same positioning problem appear in several scenes?
This comparison can lead to a clear coaching message: when the left full-back pushes high, the defensive midfielder nearest the ball covers the center first before shifting out wide.
For players, this message is far more useful than a general hint like “We have to react faster after losing the ball.” It describes the situation, the task and the behavior you want.
Analyse in minutes, not hours
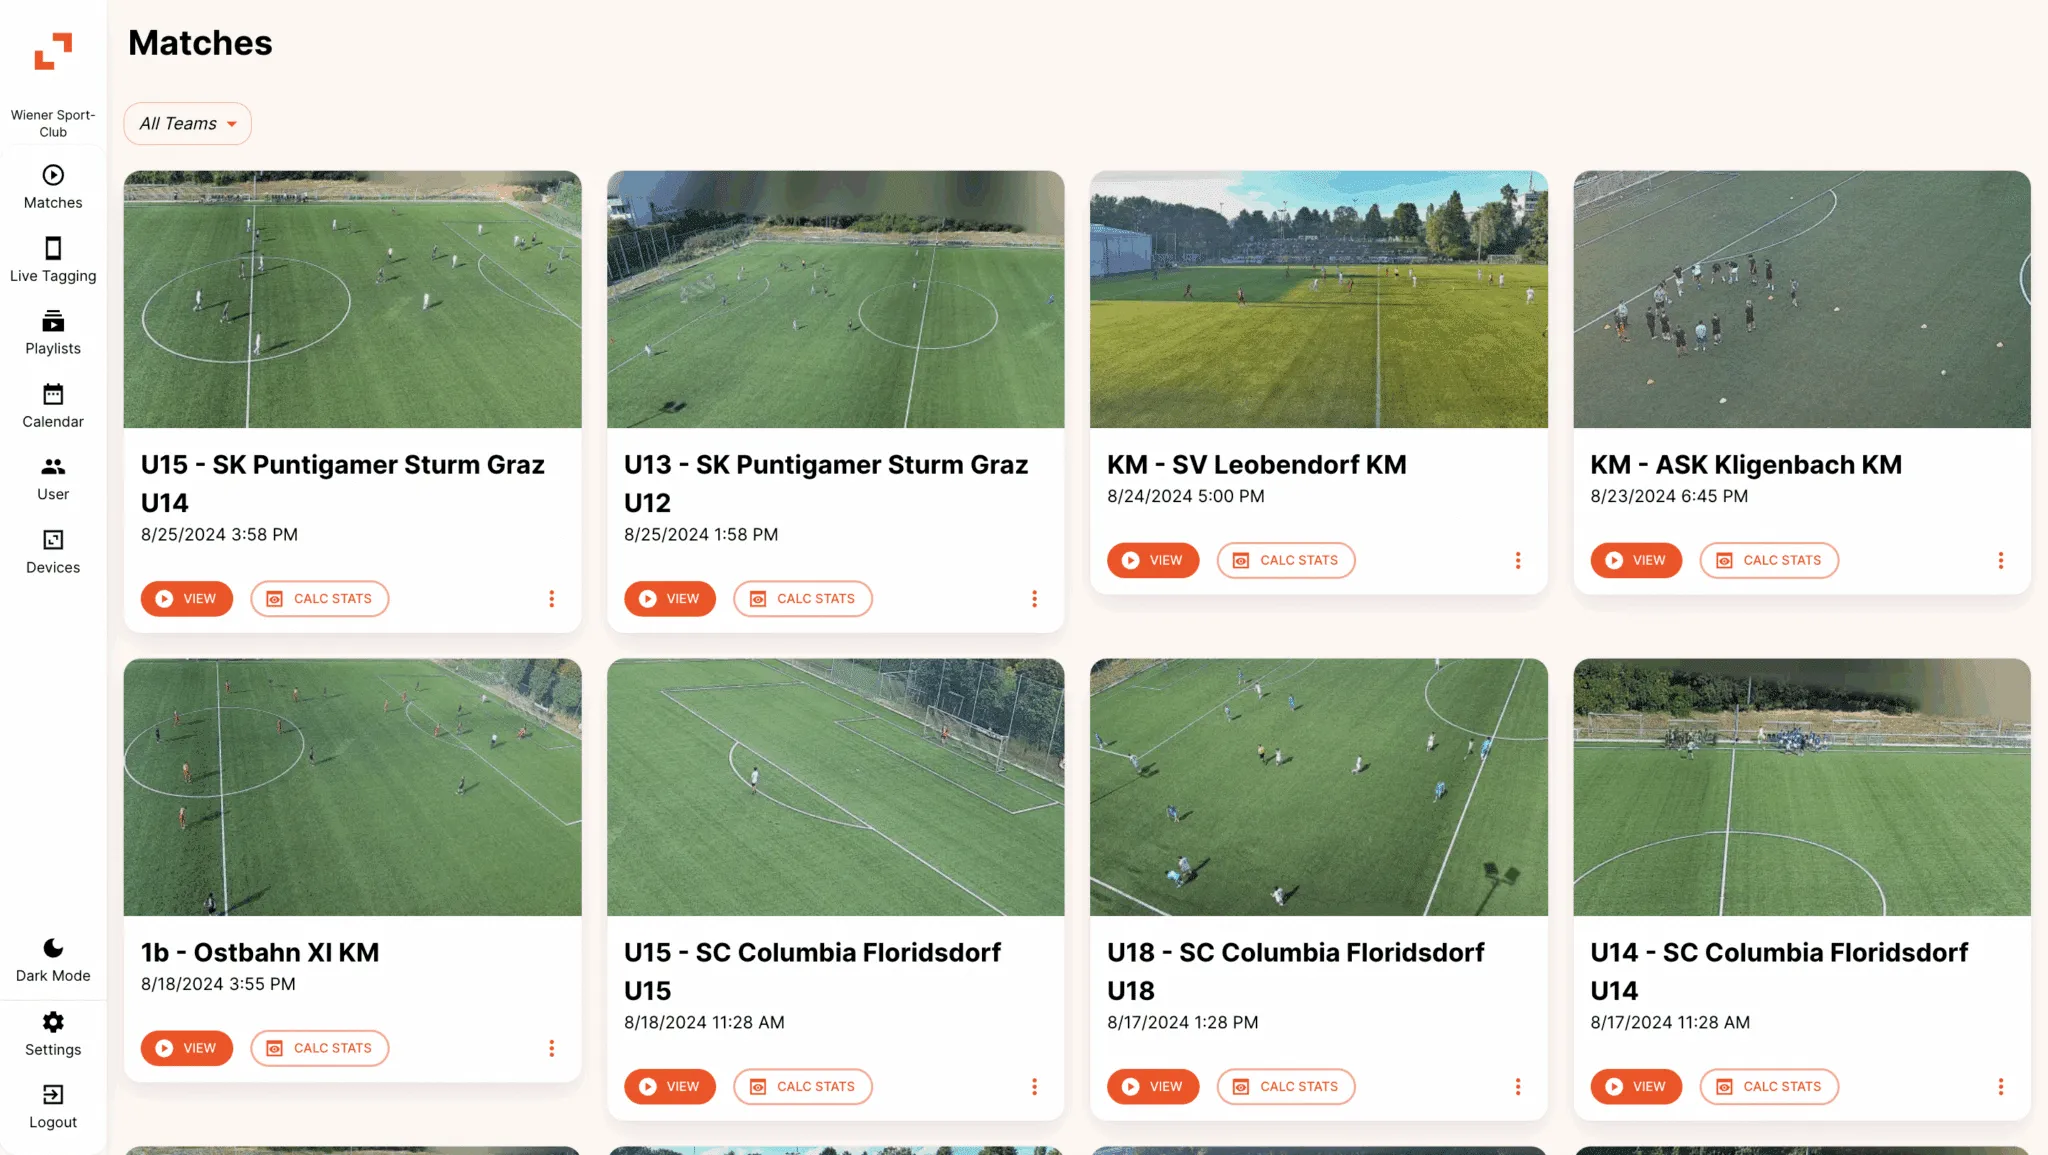
Everything in this article works in the video analysis software zone14 REPLAY.
- Upload matches or record them automatically with zone14 TWO
- Tag scenes and draw right on the video
- Share clips and playlists with your team
Make scenes clear with drawings and playlists
Players don’t just need to see what happened. They need to understand why it happened. Arrows, marked spaces and short freeze frames show passing lanes, distances and open zones. One rule applies: a clear marking helps, too many elements distract from the point.
Then sort the selected clips by audience:
- Team playlist: two or three patterns that concern the whole team
- Unit playlist: scenes for the defense, midfield or attack
- Individual playlist: situations for one role or a personal development goal
- Positive playlist: examples where the behavior you want already works
- Opponent playlist: recurring patterns, strengths and weaknesses of the next opponent
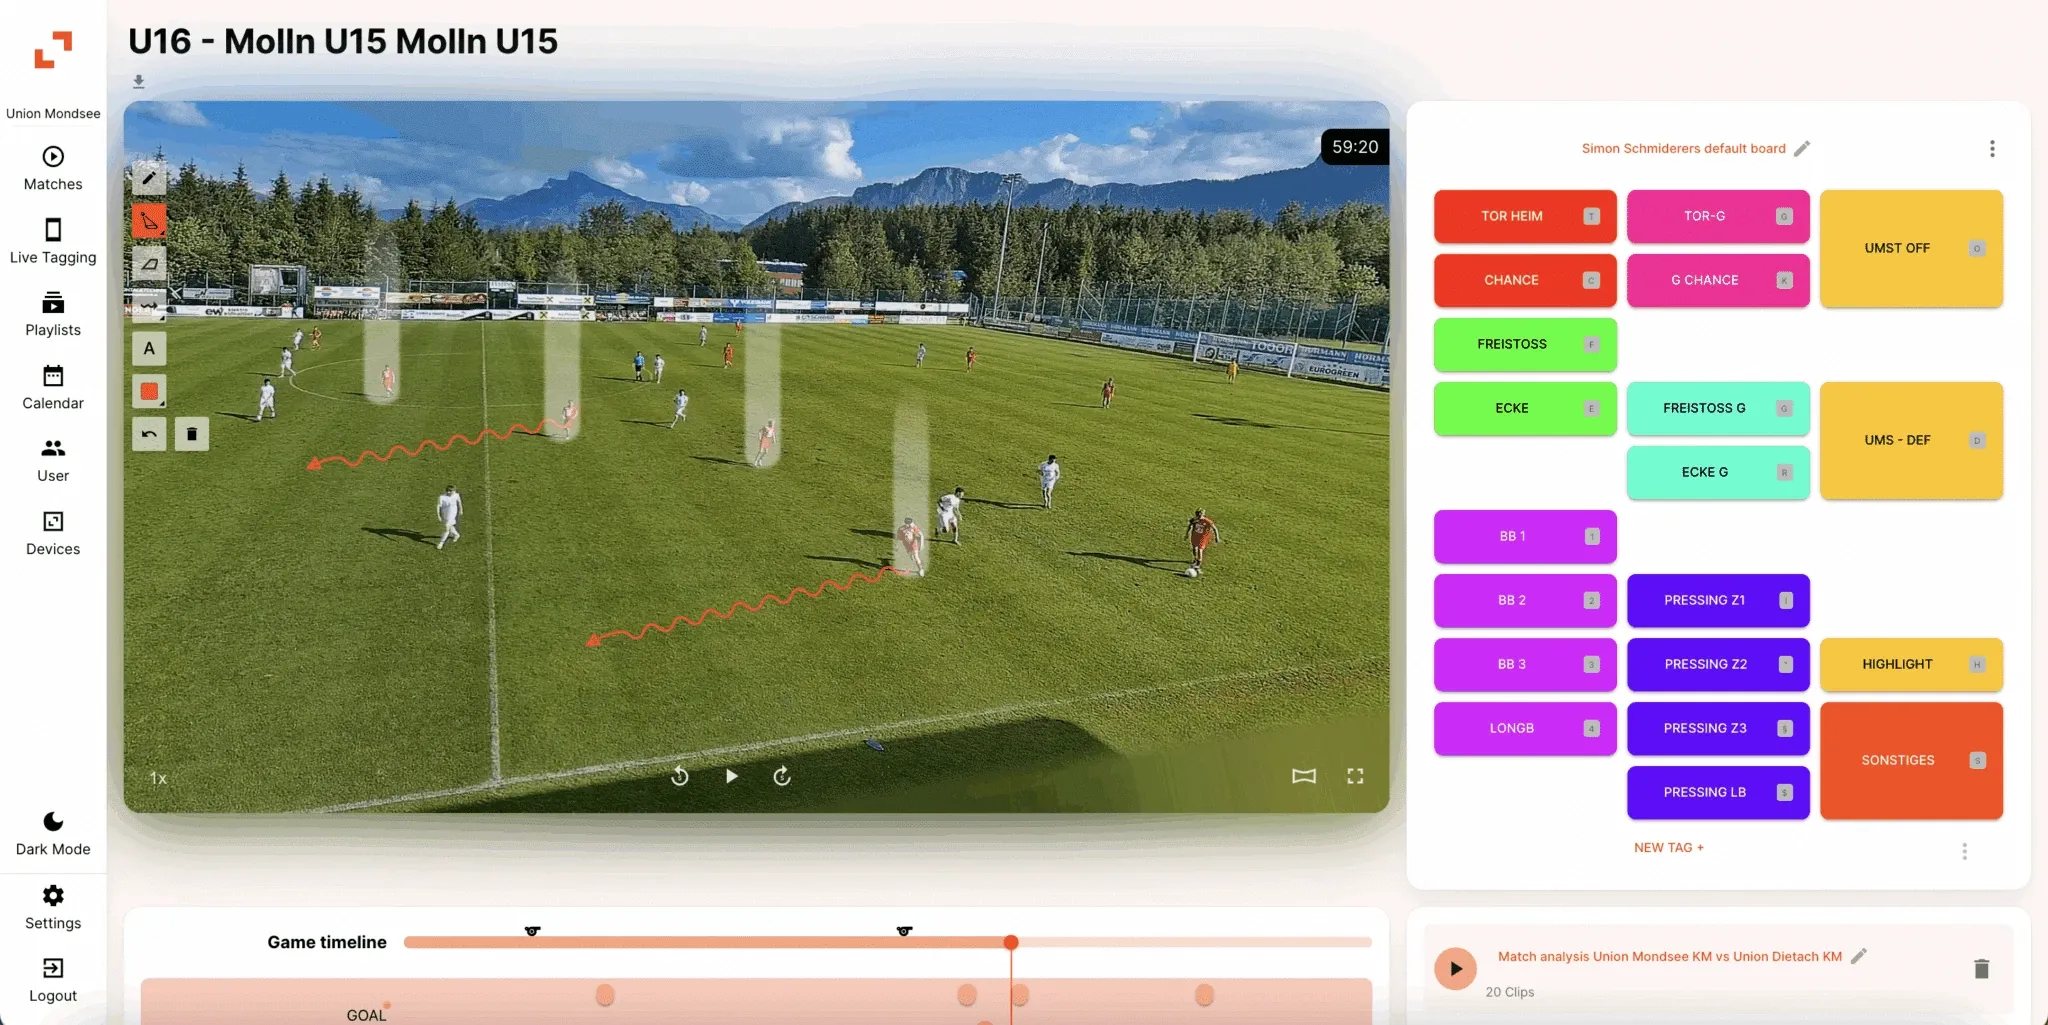
With the tagging, drawing and playlist features of REPLAY for football video analysis, you do all these steps on one platform. You then share the finished analyses with players and members of the coaching staff.
Keep player feedback short and concrete
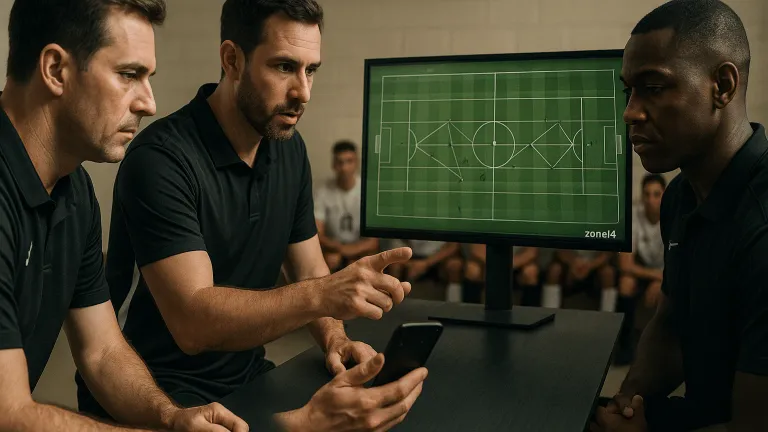
A video session doesn’t get better by getting longer. Pick a few scenes that show the pattern clearly, and first give the players the chance to assess the situation themselves.
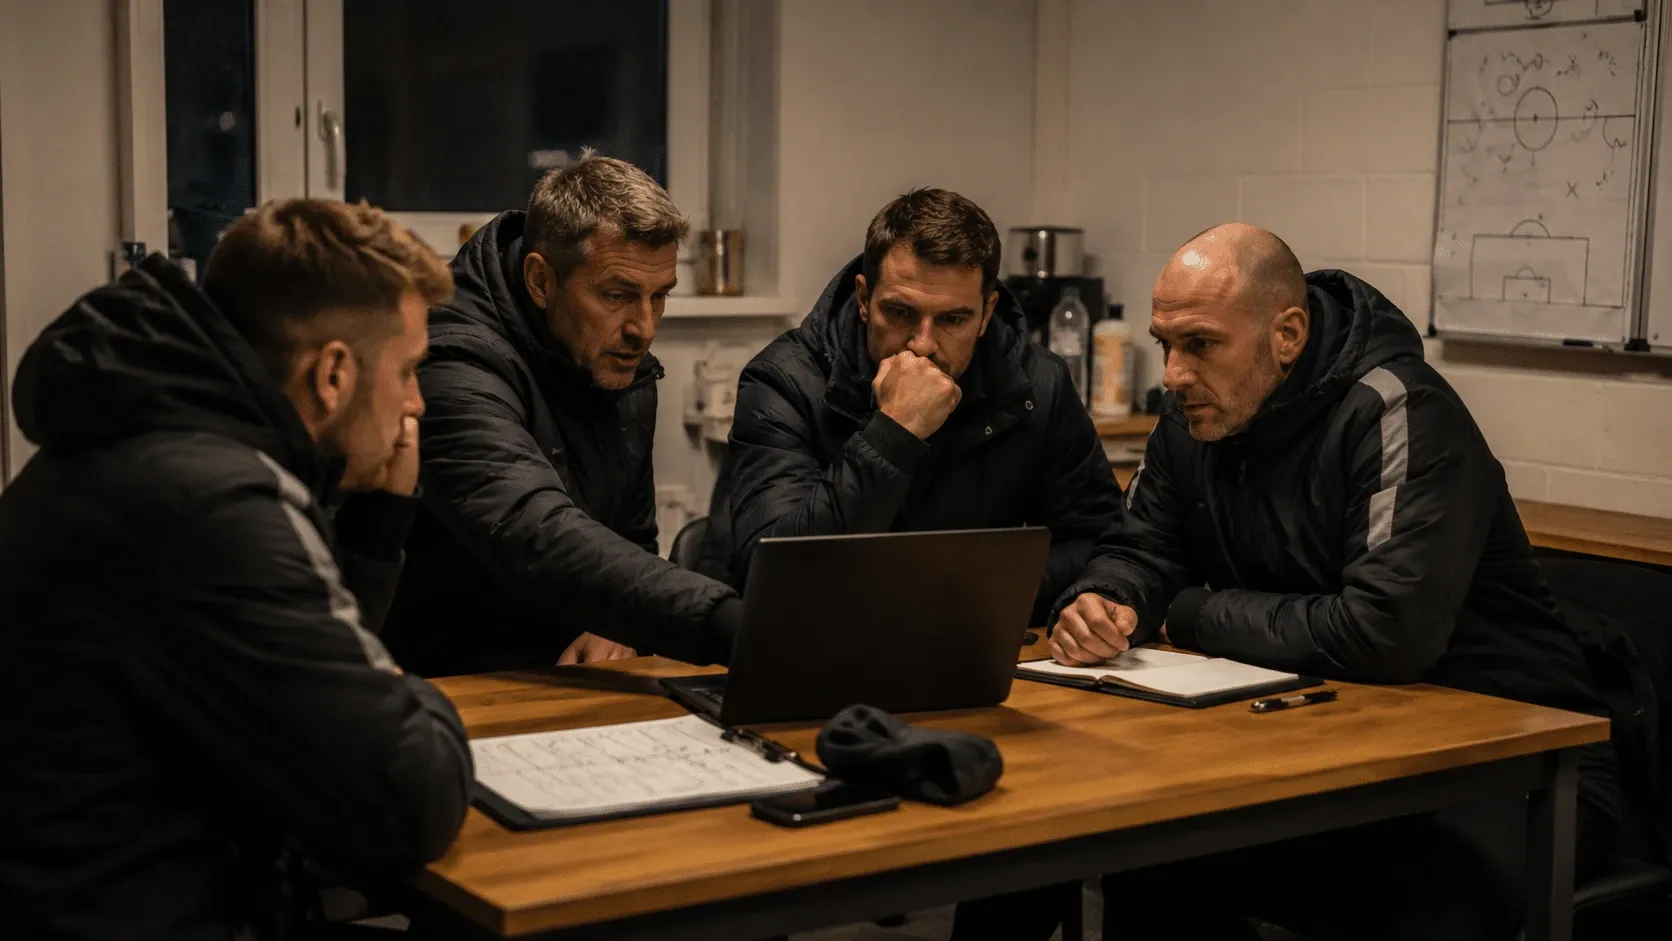
Helpful questions are:
- What information did you have before the action?
- What options were there?
- What happened off the ball?
- Which solution would you choose next time?
This turns video analysis into a conversation rather than a one-sided review of mistakes. At the same time, the coach learns more about what the player saw and intended.
Team, group and one-to-one sessions need different playlists. A full-back gets three scenes on body shape and timing. For the whole team, one of them may be enough to explain the shared structure.
Include successful actions too. After the session, players should know which behavior to repeat. The posts on individual performance analysis in football and on how coaches teach football through video analysis offer more approaches.
Turn insights into training
An analysis only has sporting value when it leads to a concrete training task. Link every key observation to a coaching message, a suitable drill and a criterion for the next match.
| Observation in the video | Focus in training | Check in the next match |
|---|---|---|
| The center is open after losing the ball. | Transition play with clear tasks for the rest defense. | Number of opponent counterattacks through the center. |
| Wide players receive the ball with a closed body shape. | Scanning and an open stance on the first touch. | Successful forward actions after receiving the ball. |
| The back line drops although there is no pressure on the ball. | Holding and stepping up the last line together. | Gap between midfield and defense. |
| Runs at set pieces are unclear. | Rehearse roles, starting positions and timing. | First contacts and shots after your own set pieces. |
The process repeats every week:
Analyze → explain → train → observe again
This makes video analysis a fixed part of development. You compare similar situations across several matches, and the coaching staff checks whether a training measure really works. The post Video analysis in training goes deeper into this link.
Free football video analysis handbook
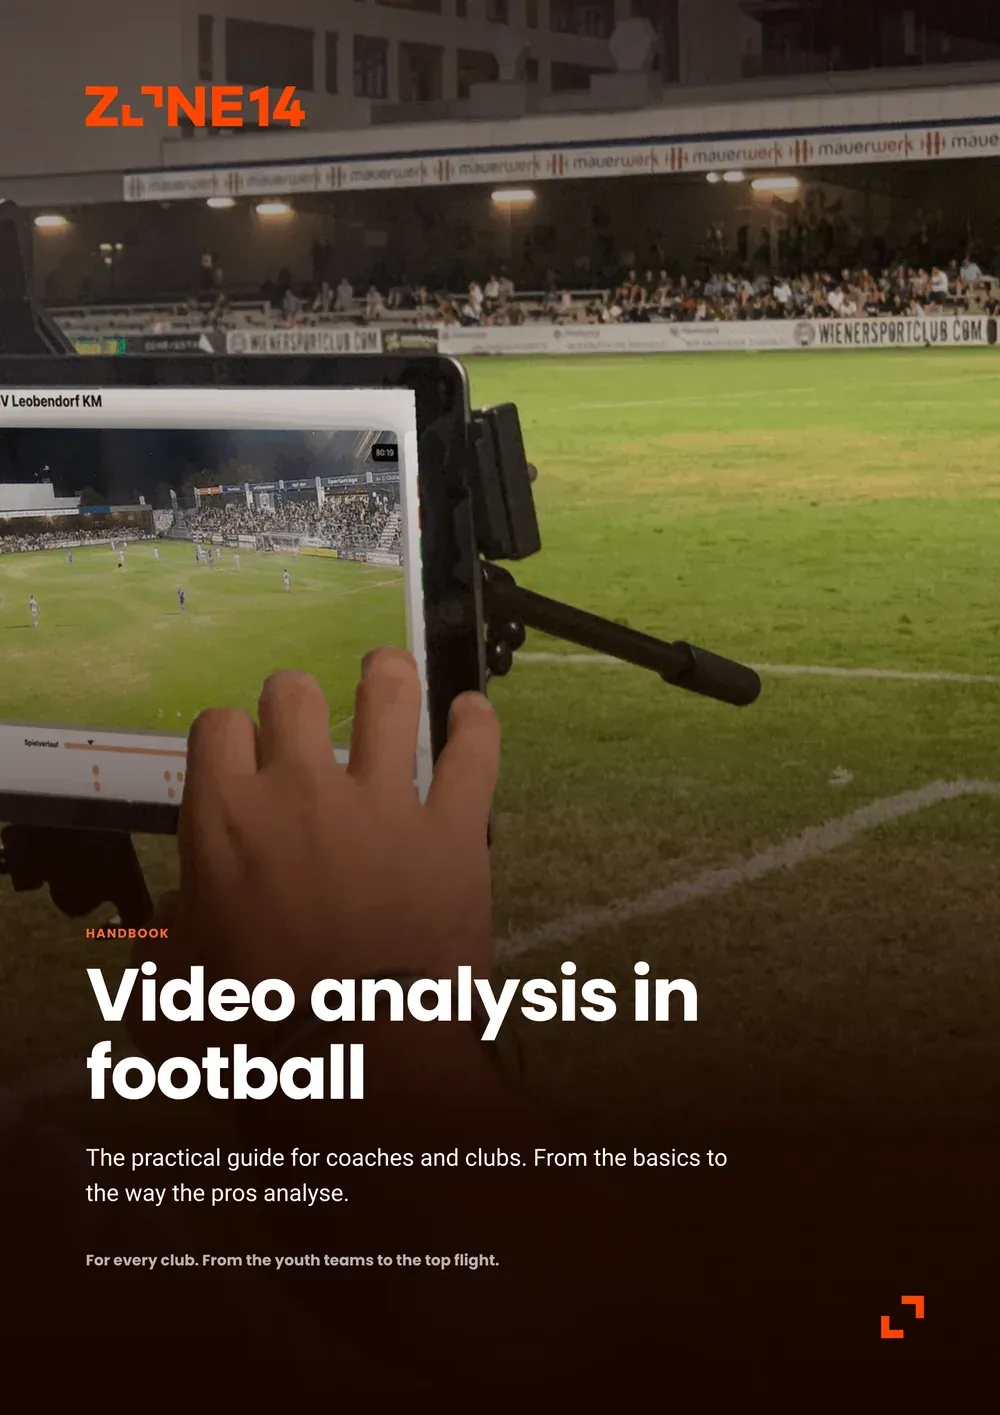
Use video analysis in your club in a structured way
Video analysis workflow checklist
✓ Before the match
- Set two or three analysis questions.
- Match the tagging board to the game plan.
- Check the recording or the scheduled camera slot.
- Agree on who does what in the coaching staff.
✓ After the match
- Check the live tags and key events.
- Compare recurring situations.
- Pick only the clearest clips.
- Use drawings with purpose.
- Create separate playlists.
- Link insights to training tasks.
- Check the behavior again in the next match.
From the match video to the next training decision
The value of football video analysis doesn’t lie in the number of clips or in long meetings. What matters is a clear path from observation to the next action.
zone14 TWO automates recording and upload. Clubs with their own camera bring their footage in through COACH. Either way, zone14 REPLAY is the central workspace for tagging, visual analysis, playlists and player feedback.
That way, a full match recording isn’t extra admin, but a reliable basis for better conversations, more focused training sessions and development you can track.